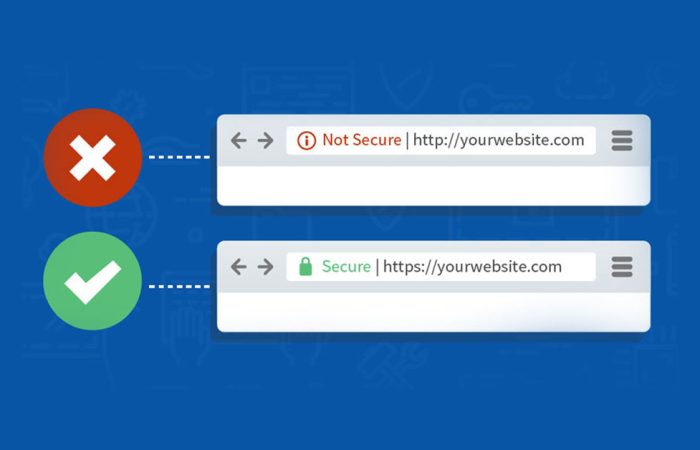
A Comprehensive Guide to Understanding Secure Sockets Layer In today’s digital age, online security is…
How to Add, Edit and Delete WooCommerce Products
“Hey there! Welcome to webfor99.com. If you’re running a WooCommerce store, you probably need to add or remove products sometimes. But if all those settings look confusing—don’t worry! I’ll walk you through the easiest way to do it, step by step. No tech jargon, just simple instructions. Let’s go!”
🛍️ Adding a New Product
- First, log in to your WordPress dashboard.
(You know, the place where you manage your website. www.yourwebsite.com/admin)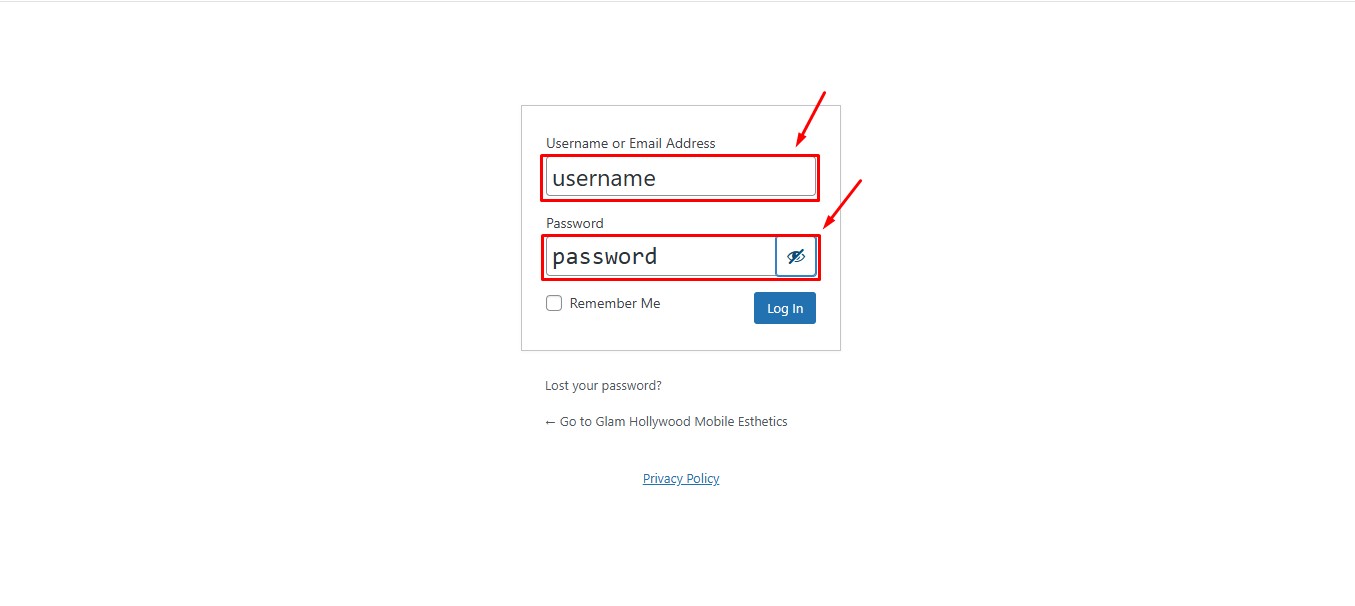
- Click on ‘Products’ in the left menu, then ‘Add New’.
(It’s like adding a new post, but for your shop items!)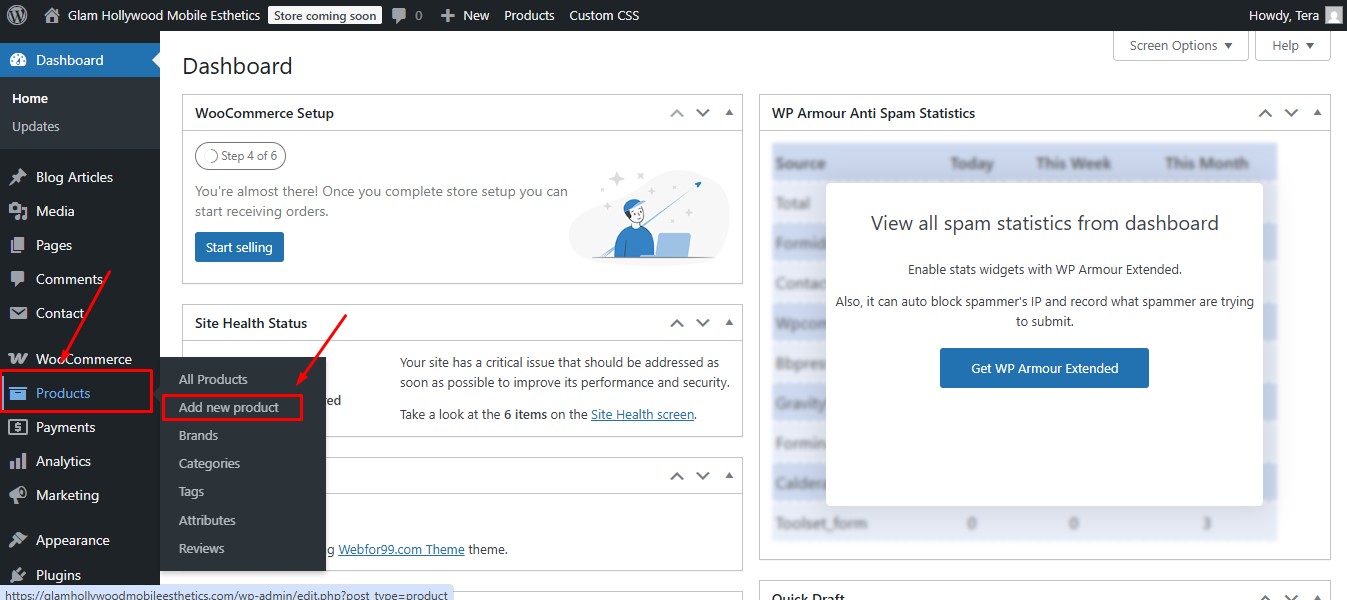
- Give your product a name and a quick description.
(Example: “Cozy Winter Sweater” – and maybe mention it’s super soft!)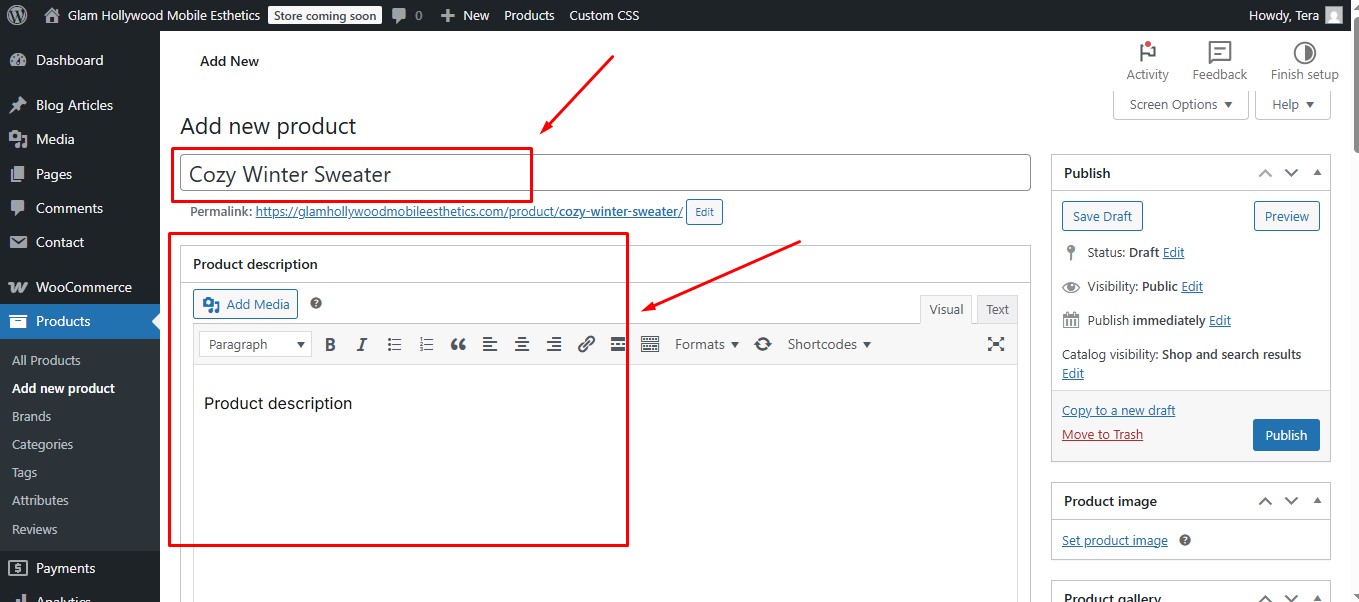
- Scroll down to ‘Product Data’ and ‘Product Categories’ set the price & category.
(Just type in the regular price—and if it’s on sale, add that too! also select the related product category)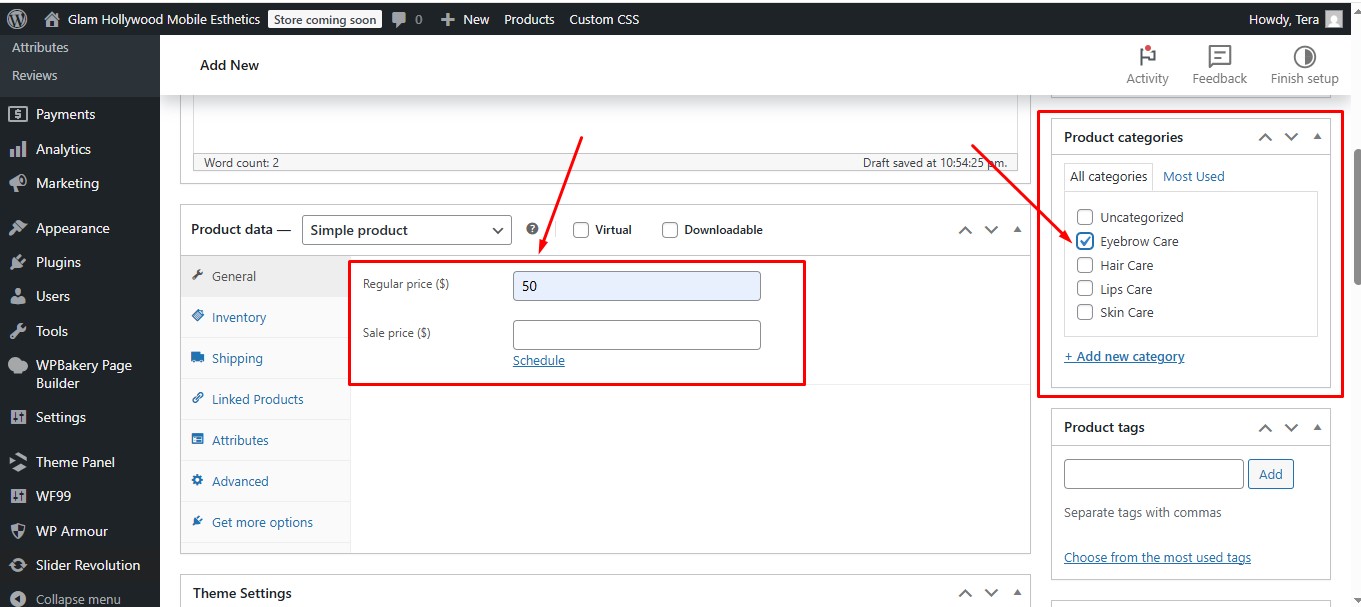
- Add a nice photo!
(Click ‘Set product image’ to upload from your computer. Want more pics? Use the ‘Gallery’ section.)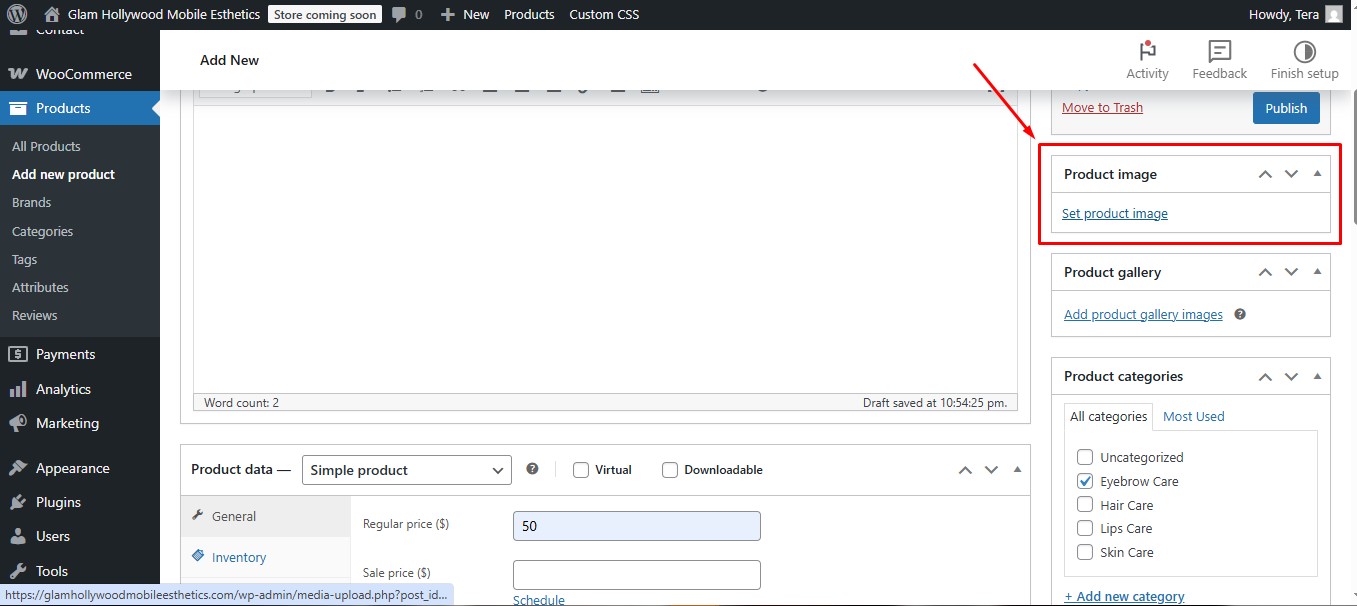

- Hit ‘Publish’—and boom, your product is live!
(See? Easy as posting on social media!)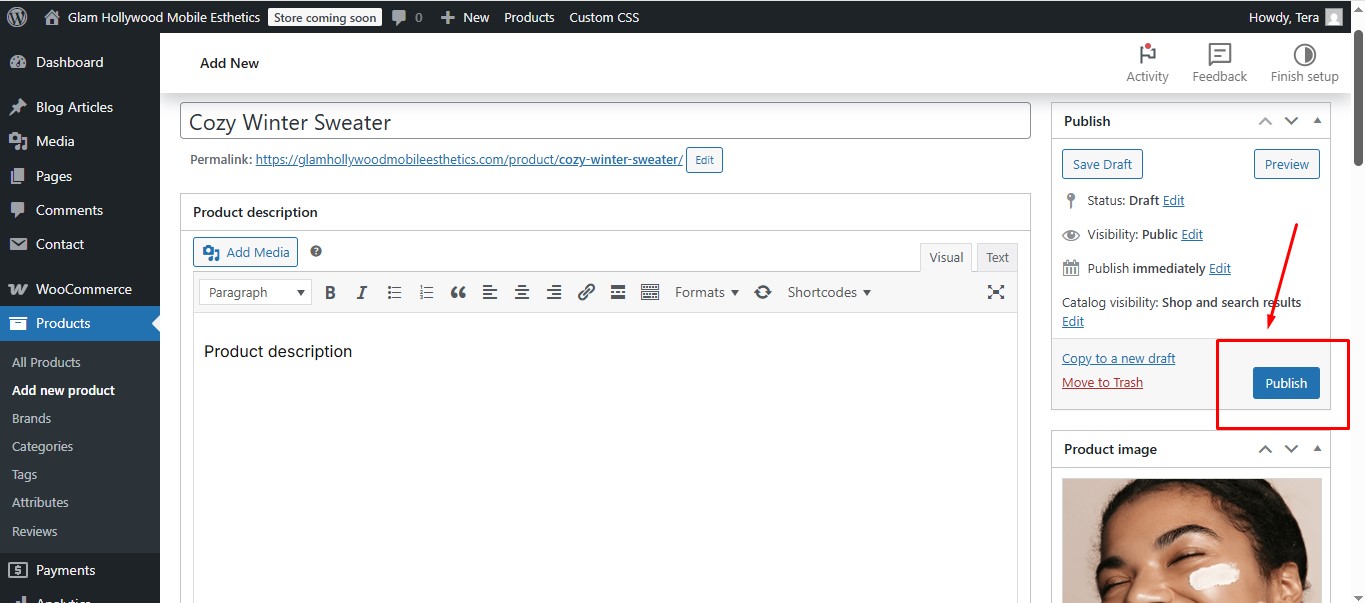
✏️ Editing an Existing Product
“Changed your mind about a price? Need to update a description? Here’s how:”
- Go to ‘Products’ > ‘All Products’
(This shows everything in your store in one handy list)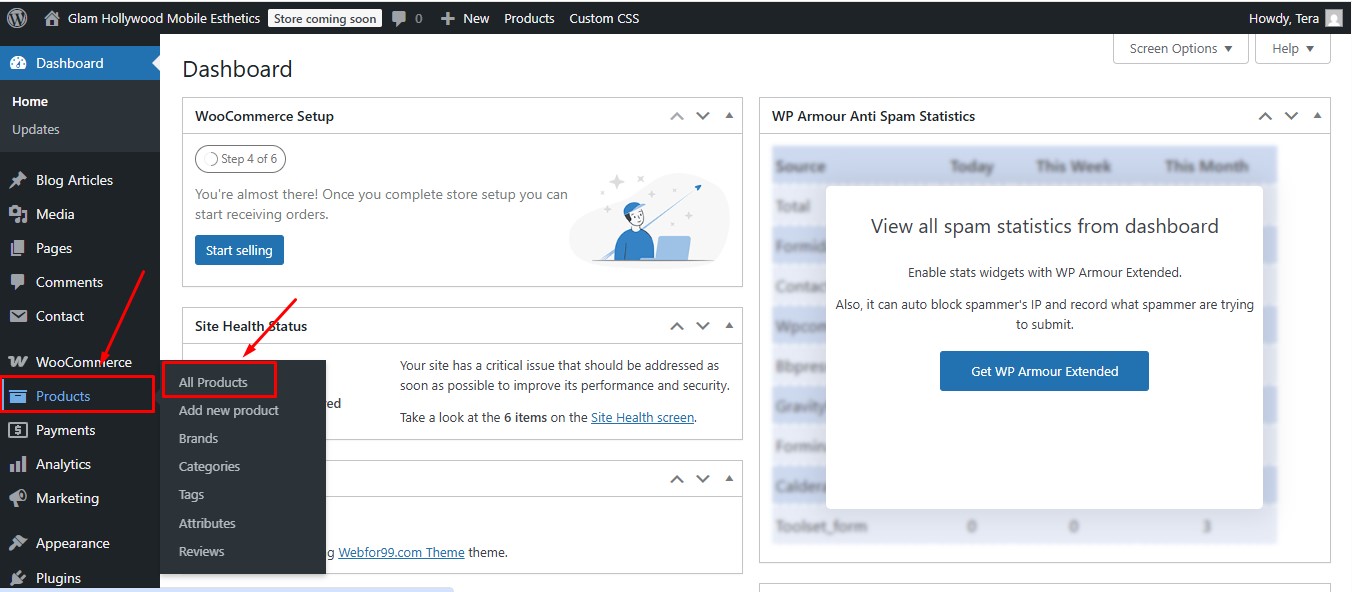
- Find the product you want to change and click its name
(This opens the product editor – just like when you first created it!)
- Make your changes
(Update the price, description, photos – whatever needs adjusting!) - Click ‘Update’ to save your changes
(That’s it! Your product is now updated across your whole store.)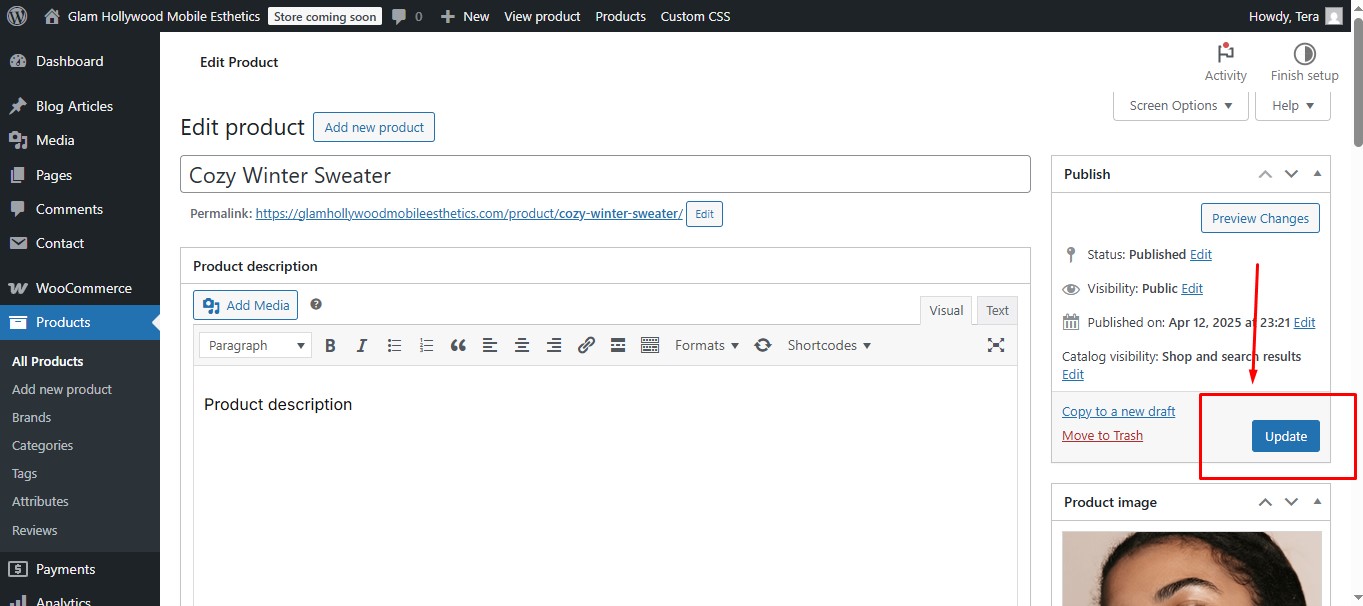
“Pro tip: You can edit multiple products quickly by using the ‘Quick Edit’ option when you hover over a product in the list!”
🗑️ Deleting a Product
“Okay, what if you stop selling something? Here’s how to remove it:”
- Go to ‘Products’ > ‘All Products’.
(This shows everything in your store.) - Hover over the product you don’t need anymore.
(A little menu will pop up—click ‘Trash’!)
“Wait, it’s not gone forever yet! If you change your mind, you can restore it from the Trash. But if you’re sure…”
- Go to ‘Products’ > ‘Trash’.
- Click ‘Empty Trash’—and poof, it’s permanently deleted.
![]()
“And that’s it! Now you can:
- Add new products in under a minute.
- Remove old ones with just a click.
No stress, no complicated settings—just a happy, up-to-date store. Go try it out!”
“Need more help? Your webfor99 team’s got your back. Happy selling! 🚀
Related Posts